


Installation


Open Settings on Your iPhone
- Navigate to Settings on your iPhone and tap on "Cellular" or "Mobile Data".
- Select "Add eSIM" and then choose "Use QR Code".
- Scan the eSIM QR code from the printed code or another device displaying the code.

Tap "Continue"
- Tap "Continue" and wait up to 10 minutes for the eSIM to activate.
- Once activated, tap "Done".

Label Your eSIM on iPhone
- You can rename your eSIM for easier identification.
- Tap the > icon and select a preset label or enter "Simbye" in the Custom Label field.
- After labeling, tap "Done" and then "Continue".

Set Your Default Line
- Set the Default Line to "Primary" and tap "Continue".
- Ensure iMessage & FaceTime are also set to "Primary" and tap "Continue".
- For Mobile Data, select the previously chosen eSIM label.
It’s best to activate your eSIM only at your destination to prevent any data usage before your trip.

Activate Your eSIM
- After installation, go back to Settings.
- Navigate to "Mobile Service".
- Select your eSIM from the list.
- Turn the line "On".
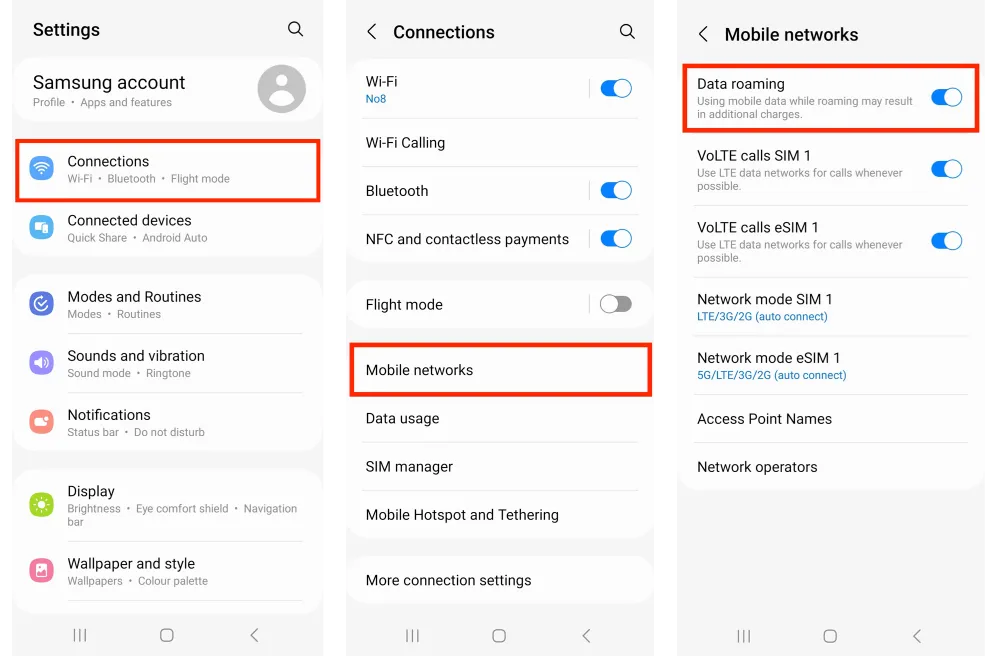
- Set "Data Roaming" to "Online".

All our eSIM profiles come with predefined configuration. That is why there is no need to manually set APN. Once you arrived in the country with an already bought plan, Yesim will automatically register in a local network and start working right away. Please make sure that Data Roaming is turned on and Network Selection is automatic.
If you have any issues with mobile data, try firstly to reboot your device. It might sound silly but it helps the profile to re-register at a local network and in 80% cases solves the problem.
If it does not help, contact us. When sending your message, also make sure to include as many of the necessary details as possible:
- Name of the country/region where you are now.
- Settings - Mobile data/Cellular - switch both calls and data services to Yesim - send us the screenshot.
- On this page under Cellular plans - tap on Secondary/Yesim plan - send us the screenshot.
- Then go to Cellular/Mobile data network - send us the screenshot.
Sorry, unfortunately there is no such option at the moment. Each QR-code is associated with only one eSIM number/ID, so you can scan it only once on unique device. Due to the predefined settings, when you have used your mobile phone to scan the QR-code for the first time, the binding has been established, and other mobile phones cannot any longer use the QR-codes.

Open Settings on Your Samsung Device
- Navigate to the "Settings" app on your Samsung smartphone.
- Scroll down and tap on "Connections".
- Select "SIM card manager" from the list.

Add eSIM
- In the "SIM card manager", tap on "Add mobile plan".
- Select "Download a SIM instead" to use a QR code.
- Scan the eSIM QR code provided by your carrier using your device's camera.

Confirm Your eSIM Details
- Review the carrier details displayed on the screen.
- Tap "Confirm" to proceed with the installation.
- Wait for your device to activate the eSIM, which may take a few minutes.

Label Your eSIM
- After activation, you'll be prompted to label your eSIM.
- Select a preset label or enter a custom name like "Simbye" for easy identification.
- Tap "Done" to save the label.
Set Your Default Line
- Go back to "SIM card manager" in Settings.
- Select your newly added eSIM and set it as the default for calls, messages, and data.
- Ensure that "Data Roaming" is set to "Online" to enable internet access.